Configuring Keycloak Client
This section guides you to configure the Keycloak client, once the jboss server is up and running. Follow the below steps to configure the Keycloak client.
- In the Keycloak web application, once the jboss server is up and running (http://localhost:8180/auth/), log on to administration console with registered username and password.
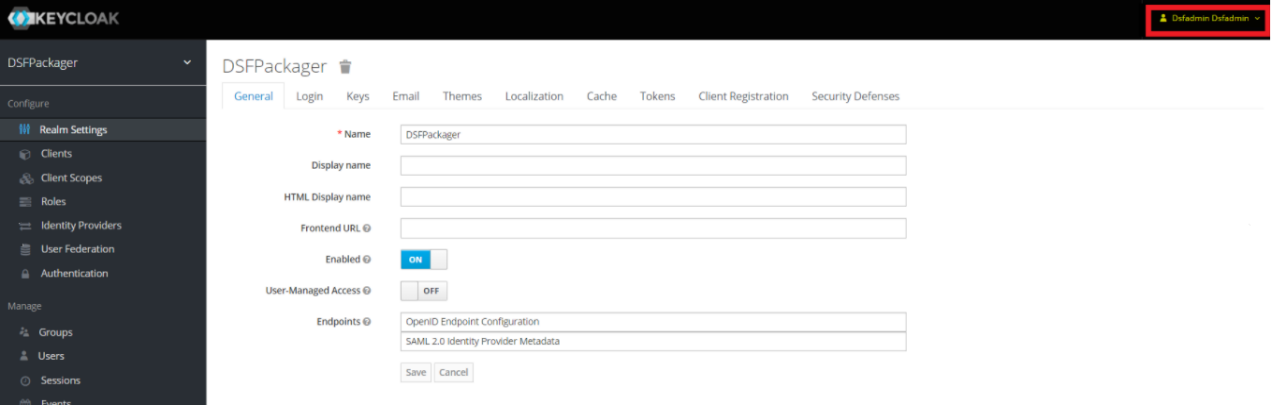
- In the left-pane, expand Master and click Add Realm to create a realm named
DSFPackager.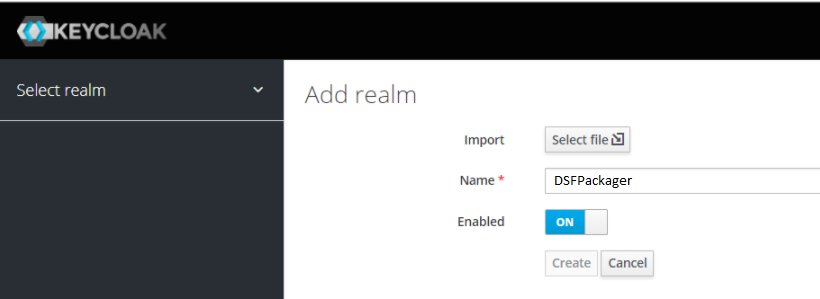
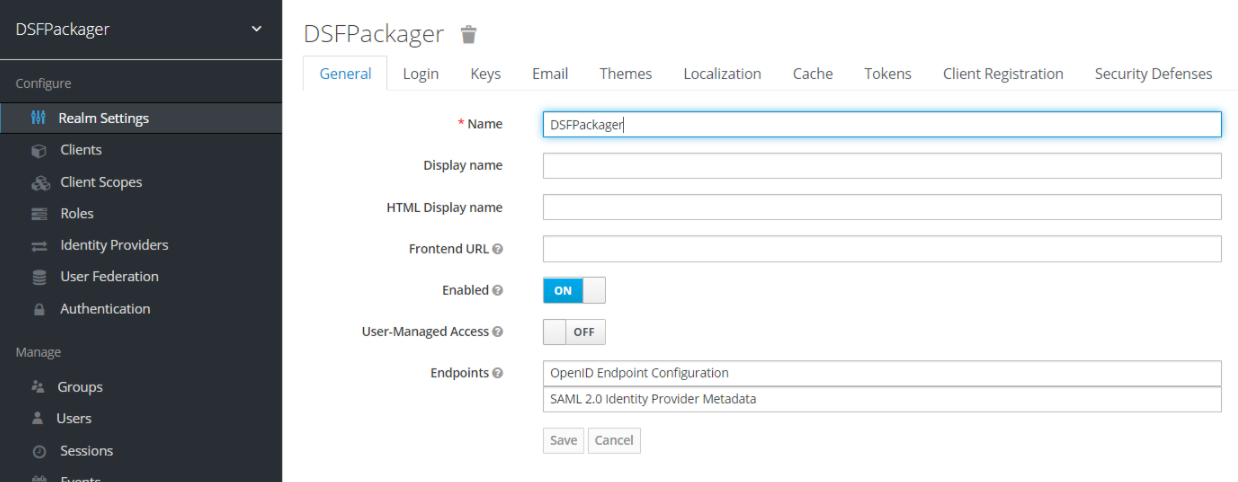
-
In Realm, create a user named
dsfadminwith credentials as shown in the following screen capture.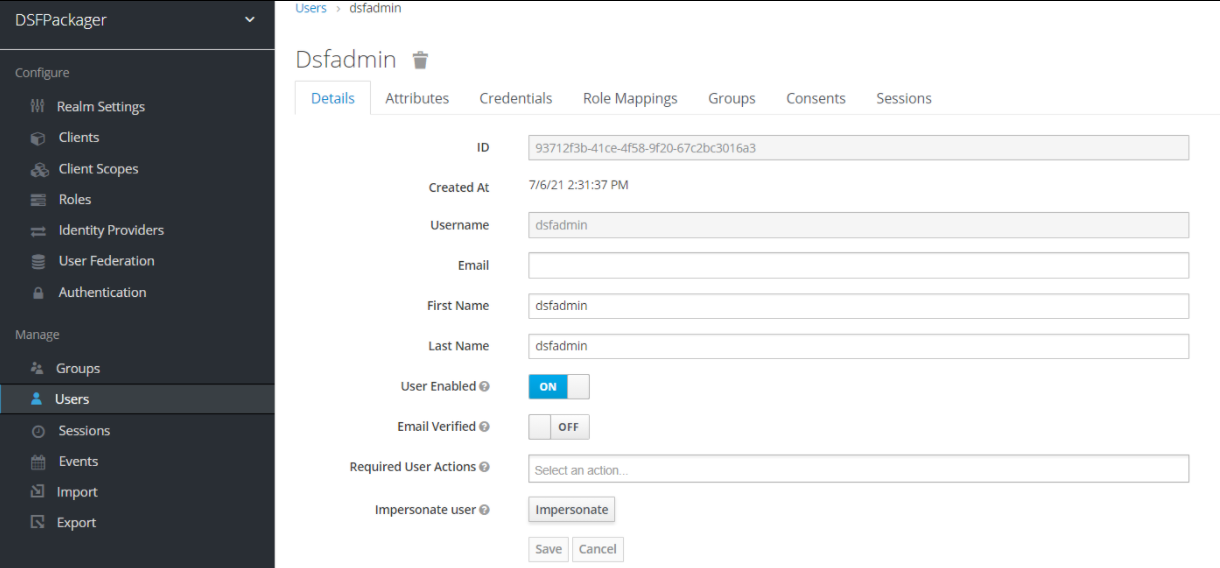
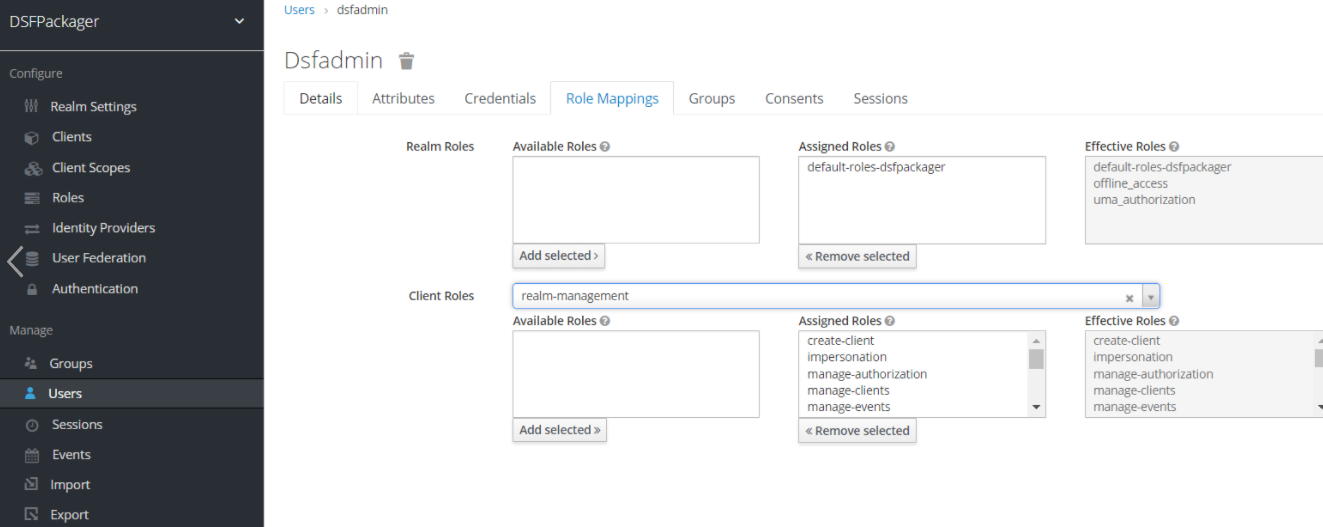
- Go to Users > Role Mappings tab, to grant all the realm management access or privileges to the user.
- Log on again with the created user (dsfadmin) http://localhost:8180/auth/admin/DSFPackager/console.
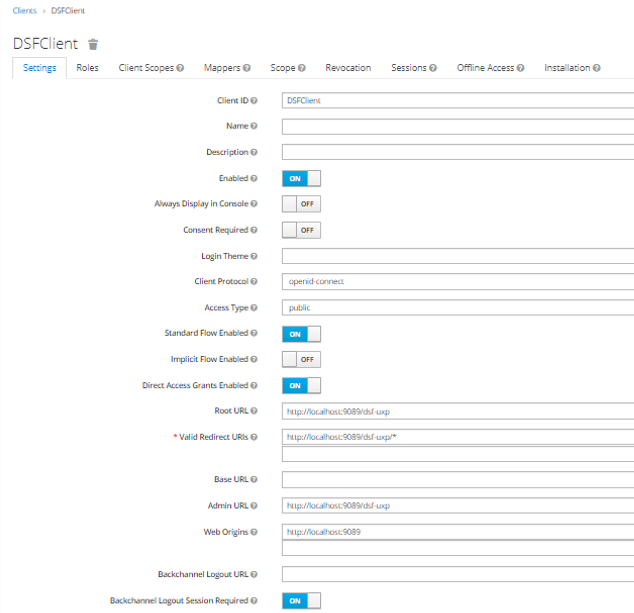
- Go to Clients > Add Client to create a client.
- In the Settings tab, enter http://localhost:9089/dsf-uxp for Root URL and http://localhost:9089/dsf-uxp/* for Valid Redirect URIs.
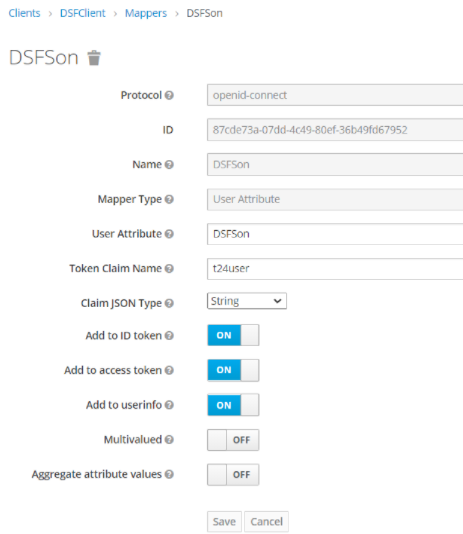
- Go to Clients > DSFClient > Mappers to create a mapper.
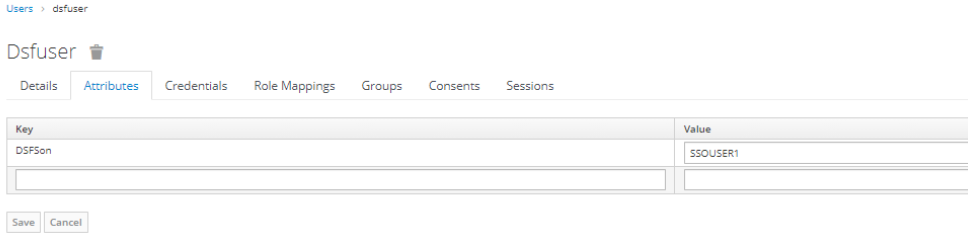
- Create another user as
Dsfuser.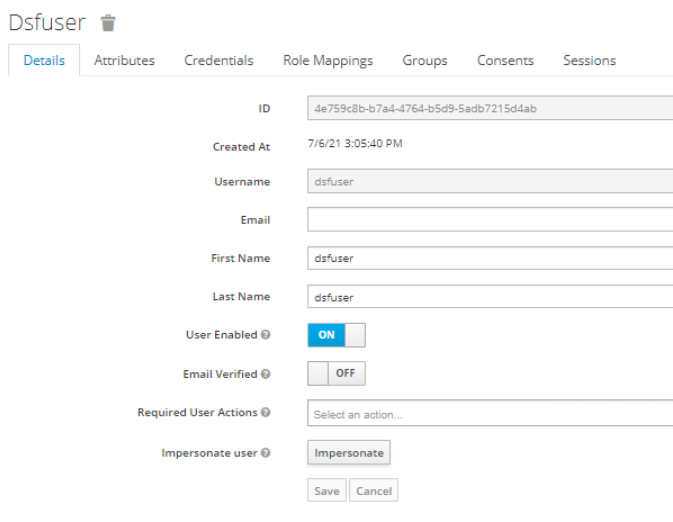
- In the Attributes tab, enter the Key, which is the mapper created and Value, which is Transact User.
You have configured Keycloak client successfully.
Field Name
|
Application/Table name
In this topic